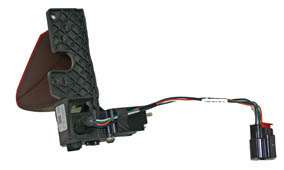
Tesla Model S: Door - Charge Port - Single Phase - Motorized (Remove and Replace)
Tesla Model S (2012-2025) Service Manual / High Voltage System / Door - Charge Port - Single Phase - Motorized (Remove and Replace)
Note: The charge port door and motor are removed as an assembly.
Removal
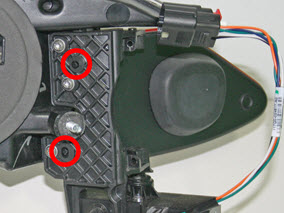
- Remove the LH tail light assembly (refer to procedure).
- Remove the screws (x3) that secure the charge port door to the
tail light assembly (torque 2.5 Nm).

- Remove the charge port door.
Installation procedure is the reverse of removal, except for the following:
- Ensure that the studs on the tail light align with the slots on
the charge port door before installing the screws.
- Test the charge port door for proper fit and operation after the tail light is installed. Adjust the charge port door and tail light as necessary.
READ NEXT:
 Slave Charger - LH - 1st Generation (Remove and Replace)
Note: This procedure describes how to remove and install
the 1st generation slave charger. If the vehicle is equipped with a
2nd generation slave charger, refer to procedure 44102102 (refer to
Slave Charger - LH - 2nd Generation (Remove and Replace) - Removal
Note: This procedure describes how to remove and
install the 2nd generation slave charger. If the vehicle is equipped
with a 1st generation slave charger, refer to procedure 44100102 (refer
SEE MORE:
Charge Settings
Access charge settings by touching Controls > Charging
when Model S is in Park.
When charging, you can also touch
the
charge icon on the touchscreen to access
charge settings.
1. Driving distance: Displays the total estimated driving
distance available.
2. Set limit: Adjust the charge limi
Premium Boost Amplifier (Remove and Replace)
Removal
Release latch, disconnect amplifier harness connector and
position aside.
Caution: Take care not to damage component(s).
Remove AM/FM tuner module (refer to procedure)
Remove screws (x4) sec
© 2019-2025 Copyright www.tesms.org
